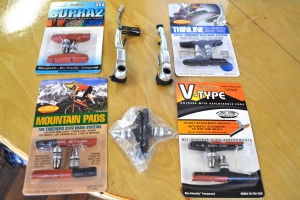
Shop tips: Rim brake pads
By Patrick Loftus, Service Manager
If you’ve been riding your bike all winter, it might be time to replace your brake pads. With all the water and grit on the roads, brake pads wear a lot faster in winter. If you let them go too far, you risk damaging your rims. In this month’s shop tip we’ll cover cleaning the pads, inspecting them for wear, and let you know which style brake pads work with your brakes. To keep the scope of this tip manageable, we’ll focus on rim brakes.
Cleaning the Pads – Brake pad dust makes your wheels, brakes, and bike really dirty, but it wipes off easier than grease. If you’re cleaning your brake pads it’s also a good time to clean your rims and check for wear (see our “Cleaning your rims” tip for a good how-to). I find it’s easiest to clean the pads when they’re dry. Wet brake dust tends to smear around; dry brake dust just falls off. Try to get the bike off the ground. Just put it upside down on its seat and handlebars (careful not to damage your seat or brake and shift levers) and remove the wheels. Grab a clean (no oils, grease, or solvents), dry rag and simply wipe the grit off the pads. For tight to reach places, feed the rag through and use a shoe shine motion or use an old, dry toothbrush. Your goal is to get the big dirt off so you can see the surface of the pad.
Inspecting for Wear – Now that the pads are clean let’s check for wear. This is the easy part. Most brake pads have grooves cut in them to help clear debris. When any part of those grooves disappear it’s time for new pads. Pads often wear unevenly, so be sure to check the entire brake pad (taking your wheels off makes this easier). It’s that simple!
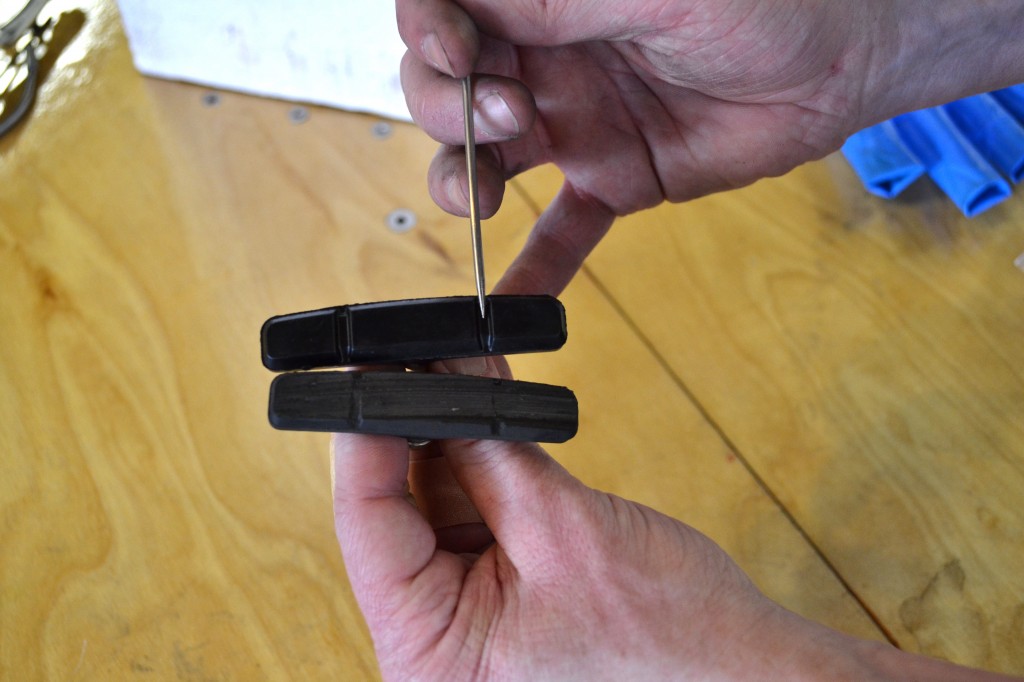
Dressing the pads – If your pads still have some of that groove left, look closer at the surface of the pad that touches the rim. Do you see any silver bits imbedded in the pad? If so, that’s bad. Those silver bits are little pieces of your rim. You can remove those metal bits by picking them out with a small pointed tool (we use high tech sharpened spokes, called ‘pokey tools’, in the shop). Once you’ve cleaned out all those bits “dress” the pad by sanding it with emery cloth or running a clean file over it. You don’t want to remove a lot of material, just get rid of any glazed look or debris. This can also help get rid of brake squeal.
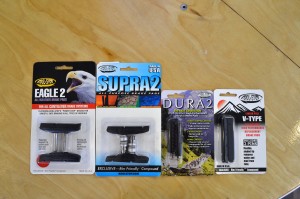
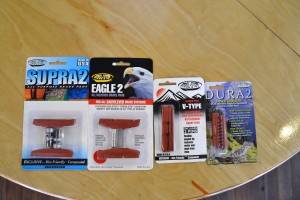
Picking the right brake pads – This is the tricky part. Not all brake pads are created equal. My personal favorite pads are made by Kool Stop, a Portland area company. They are easier on your rims (you won’t see those silver bits imbedded in them) and last longer than other pads. We regularly stock 27 different types of rim brake pads. Why so many? Different styles and brands of brakes take different pads and each of those will have a few different compound options. We’ll start with the basic types of compounds:
Black – The basic pad compound for all around use. These pads will work well in most conditions, but are meant for dry weather.
Salmon – Most of the salmon colored brake pads you see are made by Kool Stop. They’re softer and made specifically for wet-weather conditions, but work well in dry. If you want more braking power in the wet months or on steel rims, salmon pads are a good option. Since they are softer, they do wear faster.
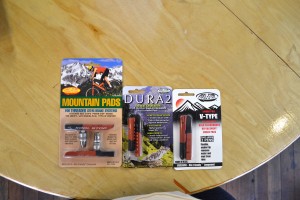
Dual – Salmon and black, the best of both worlds. The front half of these pads are black to prolong pad life. The rear half of the pad is salmon to provide a little more braking power. The down side, they cost a little more.
Green – For the most part, green pads are meant to be used on ceramic rims. Ceramic rims are found on high end bikes, but are pretty uncommon. They’re a harder compound and are not good for aluminum rims. We don’t regularly stock these, but can always special order them.
Silver – The most common silver colored pads are Kool Stop Continental (also available in salmon). The color is more for style than function.
Types of rim brakes:
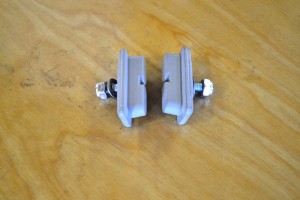
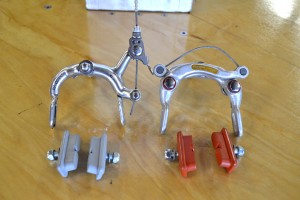
Center pull or older side pull brakes – You’ll see these on older 10-speeds from the 70s. The Kool Stop Continental pads ($10/wheel) are your best bet, but v-brake style pads can work too. Again, if your bike has steel rims, go with the salmon colored pads. If you’re on a budget we have ‘x-cut’ pads for $2 a wheel.
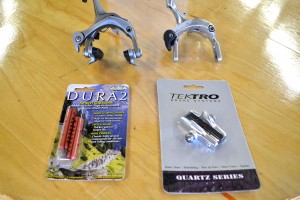
Dual pivot side pull – Seen mostly on modern (late 80s-present) road race bikes, Tektro Cartridge road pads ($14/wheel) are a good option. After the initial set up, cartridge brake pads are the easiest to maintain yourself because the pads can be installed without changing their position relative to the rim. For those on a budget, we have Jagwire basic pads. They’re only $7/wheel, but don’t offer the fine adjustment of the Tektro pads.
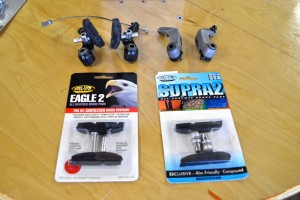
Cantilever (called ‘canti’ for short) – Cantilever brakes are found on older (pre mid-90s) mountain bikes, lots of cyclocross bikes, touring bikes, and hybrids. Cantilever brakes from the 90s or older probably use a smooth post, such as Kool Stop Eagle 2 smooth post pads ($10/wheel). Newer canti brakes use v-style threaded posts, such as Supra 2 ($14/wheel).
V–brakes – Found mostly on mountain bikes and hybrids from the late 90s on, v-brakes take a threaded post pad. The pads come with a series of concave and convex washers, making set up easy. Kool Stop Supra 2 pads ($14/wheel) are the pads to use. If you’re on a budget, we have Avid pads for $6/wheel, but they wear faster and are harsh on rims.
As you can see, there are a lot of options for brake pads. If you’re still unsure about what pads you need or whether or not they are worn, it’s best to bring your bike in and ask a mechanic. If you can’t get your bike to the shop, take a picture of the brake to show the mechanic. We’re happy to chat with you about the best pads for your bike.
